Saturday, January 7, 2012

DIY: Open Book Surgery

I love books, don't get me wrong, but I've always wanted to make a secret hollow book to keep tiny treasures in. I have a fake one that looks like a book, but it's made out of wood and not very convincing. So when I was going through my room, I found a book that I don't know how I got, and was going to give it to charity when I realized it would be the perfect book to tear apart!

It's called Letters of the Century by Lisa Grunwald and Stephen J. Adler, and it's a good two inches thick. Perfect amount of thickness to hide things. Since it's a real book it will be disguised perfectly with my other volumes, and no one will be any the wiser. (Except, of course, anyone who reads my blog.)

Tools Needed:
  • A thick book, perferably hard cover
  • Paintbrush
  • Glue
  • Ruler
  • Pencil
  • Exacto knife or box cutter
  • Large clips
  • A plate (to put bits of paper on)
  • A cup for the water and glue mixture
  • Patience
  • Music (optional)
For help, I used How To Do Stuff and eHow.


The Steps:
1. Figure out where you want to start cutting into the book. I left several pages out at the front, so that if someone does pick up the book and opens the cover they won't see a hole with objects in it. But it's entirely up to you.

 2. Mix 70% glue and 30% water. I used an empty mini advil bottle. It should be white and liquidy.

 3. Using your brush, glue the sides of the book. I then put a couple yellow notepads between the pages I saved at the front and where I want to start cutting. Put something heavy on top. Wait 15 to 30 minutes.

4. Using your ruler and pen, draw lines for where you want your hole to be. I made 1 inch margins all around.

 5. Start cutting! At first, I used my ruler to keep my lines straight, but I quickly didn't need it anymore since the pages on top served as the ruler.

6. Keep cutting. Cut deeply, making sure the corners especially are cut. It'll be easier to take the paper out. If you make mistakes, like accidentally cutting the margins, don't worry because no one will notice later when it's all glued.

7. Change your song or take a snack break. The cutting part took me about two and half hours. Also, put any larger pieces of paper onto a plate. There will be little bits of paper everywhere, but you can clean it up later.  

 8. As time went on, it got harder to cut the corners, so I took large clips and flipped up the already-cut sections. Most of the pages stuck together from the glue, but I opened it where it wasn't glued.

As I went along, the margins got smaller, meaning the pages I was cutting away got bigger. The inch turned into half an inch, but I don't mind. It was probably from the angle I was cutting at.

 9. I left a couple of pages at the bottom instead of the back of the book, which was ugly cardboard. If you do cut all the way down, you could always glue interesting wrapping paper or wallpaper to the bottom.

 10. Glue the inside as you hold it down. Glue the outside again. Put something heavy on top.Wait 15 to 30 minutes.

Then glue the inside again, making sure any loose pages at the top stick.
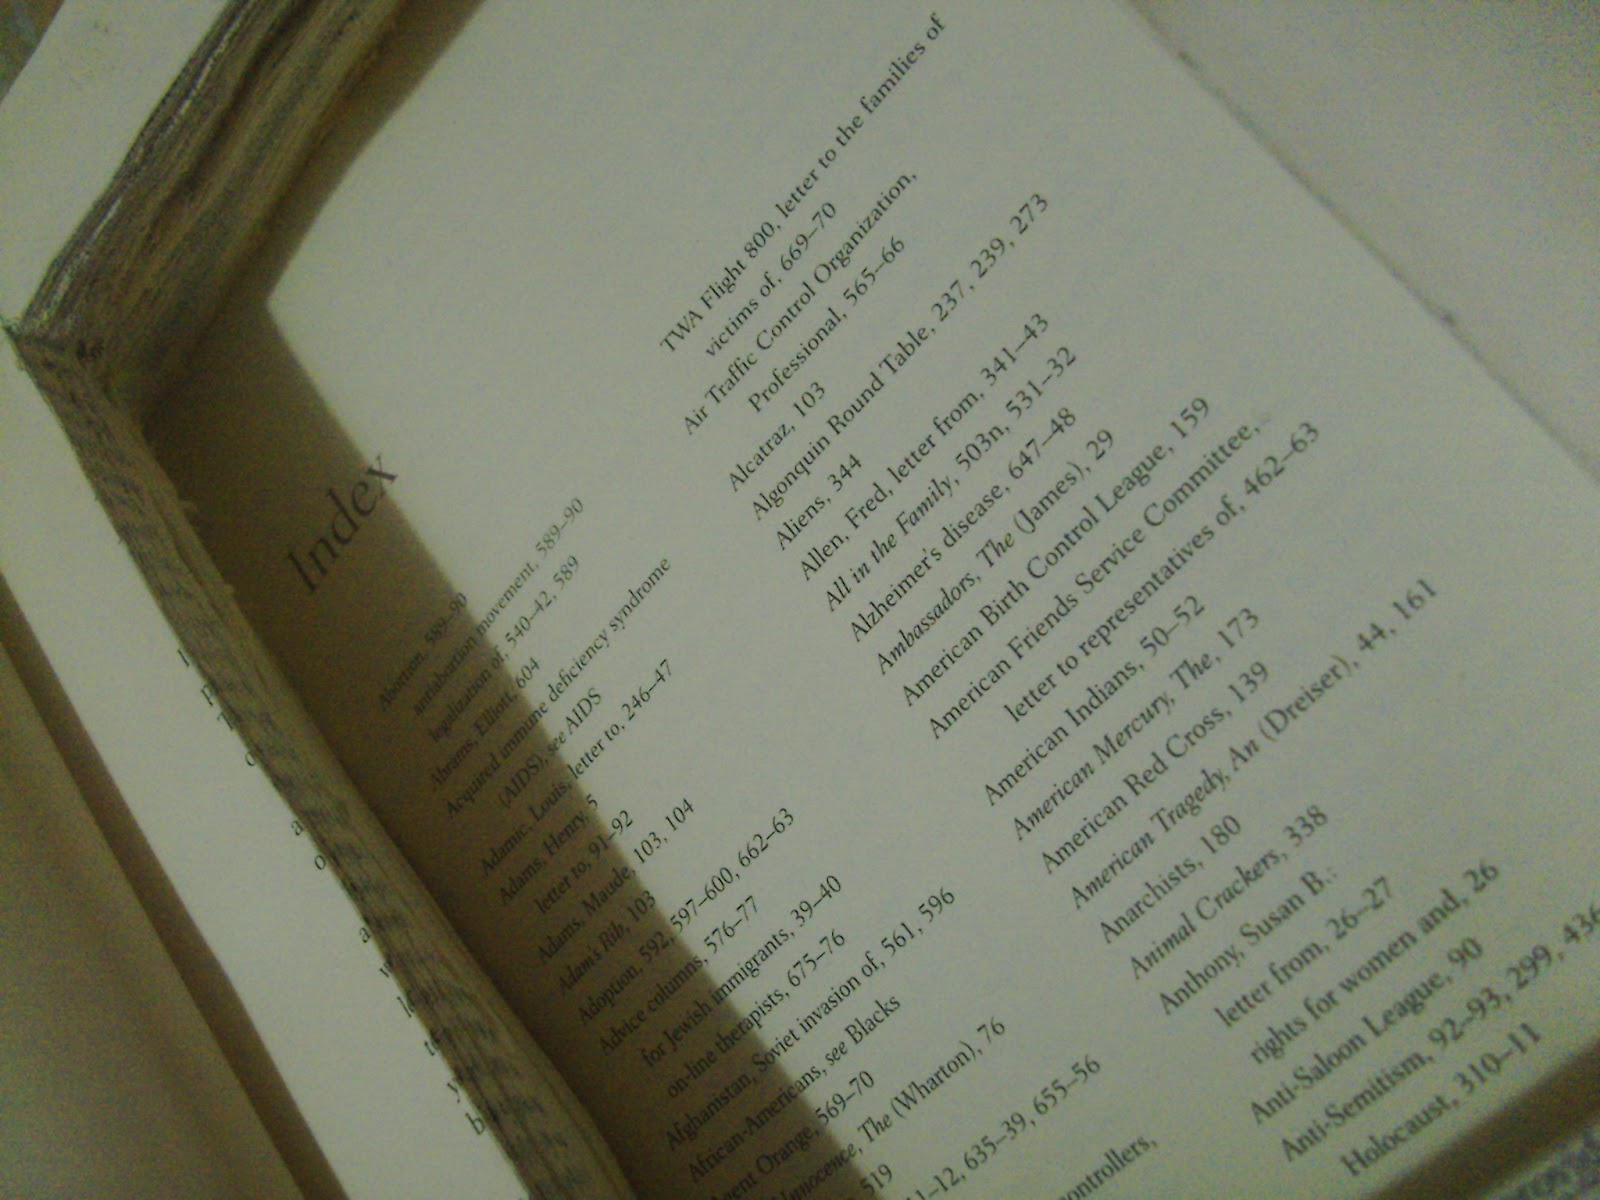
11. Once it's all dry put in secret trinkets, like letters from lovers, a key to your heart, photographs of the past, and your most valuable jewels. Hide it away on your book shelf.

Here are the pages I cut away.

What do you think? Are you going to make your own secret hollow book?

Pin It!

Friday, January 6, 2012

Israel (Part 3)

The last batch of pictures from my wonderful, exciting trip...


Me, Mayaan, and Shaked in their uniforms


Mount Herzel Cemetery


The Dead Sea
It's seriously awesome!


The Kotel, or Western Wall


The beige-stone streets of Jerusalem


A cool picture that Avra took


A book of pictures that I made using Blurb.

If you want to see more pictures or want to know more about my trip, please don't hesitate to ask!
You can email me at sara.strauss8922@yahoo.com.


Pin It!

Thursday, January 5, 2012

Israel (Part 2)

Here are the next several days of my trip...


Partying it up at a bar


Independence Hall


Avra, Shaked, and me
Every group gets to hang out with eight Israeli soldiers for five days


The Mediteranean


Flea market in Jaffa


In an underground room that we had to crawl through tunnels to get to
(My eyes look a little crazy)


Bedouin tent
About 100 people slept in here.
Forty-four on one side and fourty-four of another group on the other side,
divided by thick carpets.
Forty birthright-goers, two counselors, one guide, and one medic


Riding a camel with Kira


Walking up to Masada


Part 3 coming tomorrow.

Pin It!

Wednesday, January 4, 2012

Israel (Part 1)

In honor of the fact that it was exactly a year ago today that I left for Israel, I thought I would post some photos of my trip. Last year, I went on birthright for two weeks with forty other 18 to 22-year-olds from around the U.S. through Taglit Birthright. Luckily, I got to go with two friends of mine (Avra and Kira), which I think made the trip easier and better since I already knew two people and we'll always remember that we went together.

If you're under 26 and Jewish, I would definitely recommend going on birthright since it's a wonderful experience and it's free! If you're over 26 or not Jewish, you should make plans to see this amazing country!

I met some extraordinary people, saw marvelous things, did incredible things, took hundreds of pictures, connected to a country and a people, felt like I belonged, had tons of fun, and I will never forget this experience. EVER.

Here are the first couple days of my trip...

Layover in Kiev, Ukraine 


We arrived! Ben Gurion Airport


The group!


Baha’i Gardens in Haifa


The Mediterranean


Sasha, Kira, Avra, and me


Emily being eaten

Part 2 coming tomorrow.

Pin It!
Pin It button on image hover